
A Global Address List (GAL) is a database containing all the contact information of all the people in a particular organization such as a government institution, a school, or a company. This information is usually accessed through a computer network using CardDAV, LDAP protocol, or any other possible electronic means. Users can only read but not add or update the database. That responsibility is left to the administrators. Some of the information that users can obtain from a GAL includes phone numbers, email addresses, office locations, and office positions of the members.
Although you can always look up your coworkers on the GAL, you will not recognize their phone number when they call you- unless they are on your contact list. This is because GAL does not automatically synchronize with androids. For you to recognize when your colleague contacts you, you must synchronize the GAL to your android device.
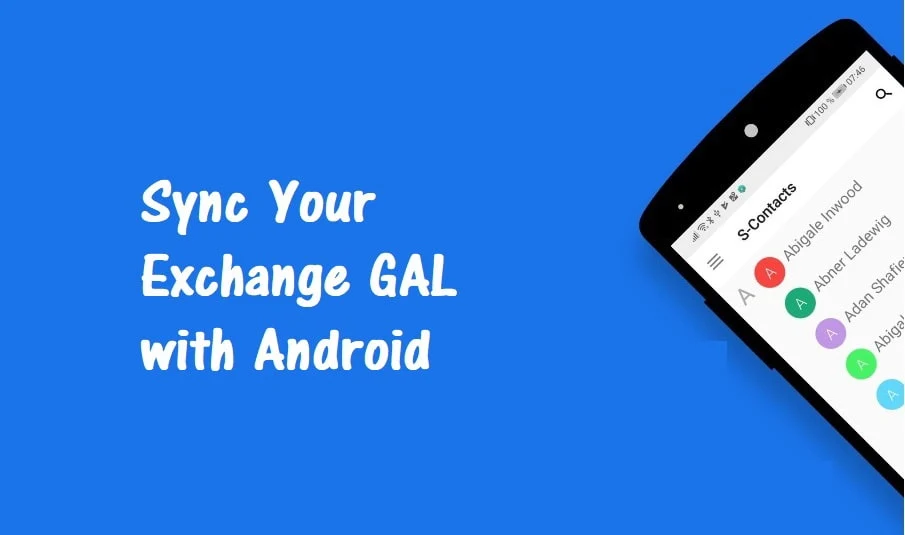
Below is a step by step guide on how you can sync your exchange GAL with Android. You can also go to SyncGal.com to learn more about this process.
Before you begin
Before you begin this process, there are two things you need to know. First and foremost this service is enabled through third-party software such as CiraSync and itrezzo. CiraSync works best for Office 365 whereas itrezzo works best for on-premise Exchange users.
And Secondly, this guide assumes that you are on Office 365 and have already set up a service account with impersonation mode for your CiraSync tenant. CiraSync will not be able to push calendar and contact updates to user mailboxes without this account.
The following are the three things you must do before you follow this guide:
- Set up a dedicated service account for CiraSync in Office 365
- Set impersonation mode to synchronize to user mailboxes
- Make CiraSync use a specific Office 365 service account
Now you are ready to Sync your exchange GAL with Android. Just follow the steps given below:
Step 1
Login to your CiraSync dashboard and click on the “+” button in the contact lists.
Step 2
Select the source type. You will find options such as Global Address List, public folder, shared mailbox, shared mailbox at another company, bullhorn, and salesforce. But for this case, we shall use the Global Address List as the source type. This will take you to the Cirasync dashboard “step 1: Select Active Directory Items.
Step 3
Select the contact sources you desire. These can be All Contacts and/or All Mailboxes, a contact collection, a dynamic Distribution Group, or a single user mailbox. But in this case, you will use All Contacts and All Mailboxes as your contact sources.
Step 4
Now click the “Next” button at the top-right corner of the page. This will take you to step 2: Choose target mailboxes. Choose the target user contact and click the “Next” button at the top-right corner of the page.
This will take you to step 3: Specify contact list options
Please note that if you are using Contact Collection as the sync target, you will click on the COLLECTIONS option and choose the collection you wish to use as the Sync target.
Step 5
Under “Specify contact list options” you will find the option “ Provide Contact List Name”. You will see a box under this option where you will need to name the contact list.
Step 6
Check the “Sync Contact Groups” to find out if you have any members of a particular group in the contact list that you would want to synchronize.
Step 7
Check the “Populate Outlook Auto-Complete List” if you would like the synchronized contacts to display in the Outlook Auto-Complete list.
Step 8
Now click the “+” button next to the contacts
Step 9
Name the subfolder and click “save”.
Please note that if you want to synchronize these contacts to your main contacts, you will not need to name the subfolder. You will skip to “save” after clicking the “+” button in step 8.
After you save, you will be taken to the summary dashboard.
Step 10
On the top-left corner of the page click on “CiraSync”. This will take you back to the CiraSync home dashboard.
Step 11
On the top-right corner of the dashboard, you will see “Sync Status”. check the “Update Cache” box under this option.
Step 12
Now click the “SYNC NOW” button still at the top-right corner of the dashboard to synchronize manually.
Also Check: How to Sync GAL with Outlook Contacts
Conclusion
GAL plays an important role in managing the contact information within an organization. In this era especially, people do not have to work in the office. That is why it is important that all employees are able to access GAL on their mobile devices. If you follow the 12 steps above you are sure that everyone in your organization can easily access GAL on their smartphones.


0 Comments