
Apple developers continue to devise new ways to transition this generation from the physical to the digital world with each update. This time, they have introduced the Journal app, which comes with the iOS 17.2 update. The application provides a unique way to document your personal experiences and daily activities, accompanied by some new features and minor performance tweaks, of course.
With the highly anticipated release of the Journal app, announced back in June of last year, Apple users can now embark on their journaling journey, bidding farewell to the outdated Notes app. The specific purpose of integrating this app into the Apple ecosystem is to address users' mental well-being. The update also incorporates two self-assessments for anxiety and depression within the Mental Wellbeing section of the Health app.
Journal App Compatibility
Apple's new Journal app is exclusively available on iOS 17.2 and later versions. To begin your journaling journey, make sure to update your device by following these steps:
- Open the Settings app on your device.
- Then, go to General.
- Select Software Update and wait for your device to check for updates.
- If an update is available, tap on Download and Install and wait for the process to complete.
Once iOS 17.2 is successfully installed, the Journal app will automatically appear on your Home Screen.
Narrate Your Story with the Journal App
The new Journal app allows you to map your daily events and express your feelings alongside. The entire experience can either be suggestion-promoted or a free-flowing reflection of your thoughts, depending on your customized settings.
What distinguishes Apple's Journal app from other third-party applications is the seamless integration of features like Photos, Location, Music, Contacts, Podcasts, Workouts, etc. while you journal. Each entry is automatically backed up on iCloud, ensuring end-to-end encryption. No need to keep your journal hidden and secure anymore; your secrets and personal opinions are now protected.
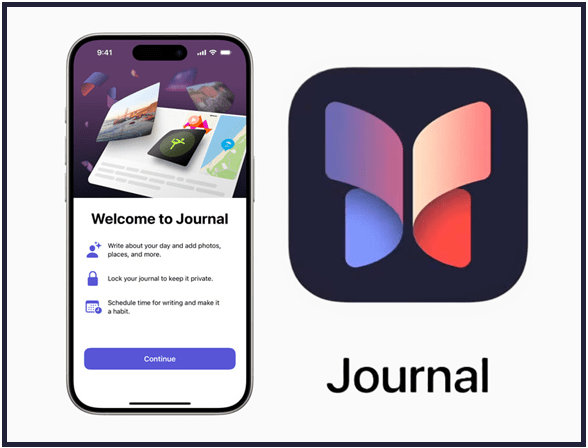
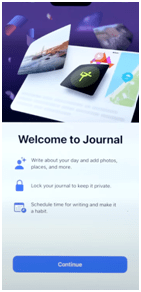
When you first launch the app, it will tell you what the app is about and allow you to set journal reminders so you never forget to digitize your important memories and special occasions.
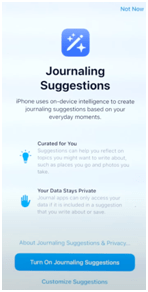
The next prompt will give you the option to enable or disable Journaling Suggestions, facilitating faster story curation. You can even customize the data the app uses to generate prompts based on your preferences.
When you launch the Journal app, a blank screen with a + button at the bottom will appear. If you have Journaling Suggestions enabled, you’ll see suggestions from your past activity or recommended moments, allowing you to quickly start documenting your experiences and thoughts. Alternatively, you can initiate a new blank entry by tapping on New Entry and add relevant data as you go.
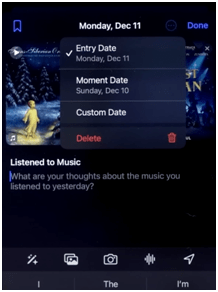
For each journal entry, you have the flexibility to set the date to either the Entry date, Moment date, or even a Custom date. If you wish to revisit a particular moment later for reflection or consider it an important event, simply tap on the Bookmark icon to mark it as important.
Once saved, these entries will be displayed as a log on the app's main screen. To streamline your interactions, you can mark an entry as important by swiping it to the right, or choose to edit or delete it by swiping to the left.
For convenient access to bookmarked entries or to filter your logs in various ways, simply tap on the Filter icon at the top right corner and select your desired filter.
Enhance Your Journal’s Security
For obvious reasons, you might want to password-protect your Journal app to keep it safe from potential privacy intruders or curious eyes. Fortunately, you can easily make the necessary adjustments by heading over to your Settings app and configuring the security settings according to your needs.
1. Open the Settings app and locate Journal in the list of apps.
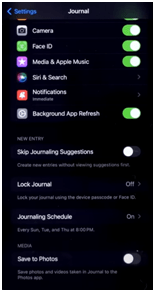
2. Go to Lock Journal.
3. Enable Lock Journal and select either your device’s passcode or Face ID.
Note: Unfortunately, users cannot assign a unique passcode to the Journal app, unlike other iPhone apps, which might have been a feature users would have appreciated.
4. And if you want to keep a photo of each journal log you create, simply toggle on Save to Photos.
5. In the same settings page, you can Skip Journaling Suggestions or set Journaling Schedule so you never forget to document your life happenings.


0 Comments